May 29, 2014

KDS 6th Anniversary event

Hello everyone!

Today I want to tell everything about the weekend of the 6th Anniversary of Kits Somni in Barcelona. Yes, I know, you have probably already seen it on other blogs and on Instagram during these past days but just in case someone missed it ;)


For me this was the first course I attended and I have to admit that it was a very enriching experience. The entire weekend was great, full of scrap, good company and lots of excitement. What a good course to get started in this, right?

It was also the perfect opportunity to meet in person a lot of friends I made through scrapbooking. Although in the end with all the excitement, the fact that that we were all super concentrated to not miss the explanation and let's face it, buying at the little store they organized there and taking little breaks to taste the sweets we had there, I did not have the opportunity to greet all the people who I wanted. 


Anyway, we arrived bright and early at Hotel Silken Ramblas where the whole team Somni Kits were waiting for us with cute welcome bags with Escrap products, Mummy Crafts products and other goodies.


The room was fully prepared so it could accommodate 80 people (10 tables of 8), plus , as I said before, a little shop full of amazing products, a photocall, a screen projector for teachers and a small catering table.


The classes were very well organized. They gave us a PDF for each table with the step by step process while the teachers showed us explanatory step by step videos on the big screen. Also in case anyone got lost with the english, Xenia from Kits Somni was translating everything simultaneously.


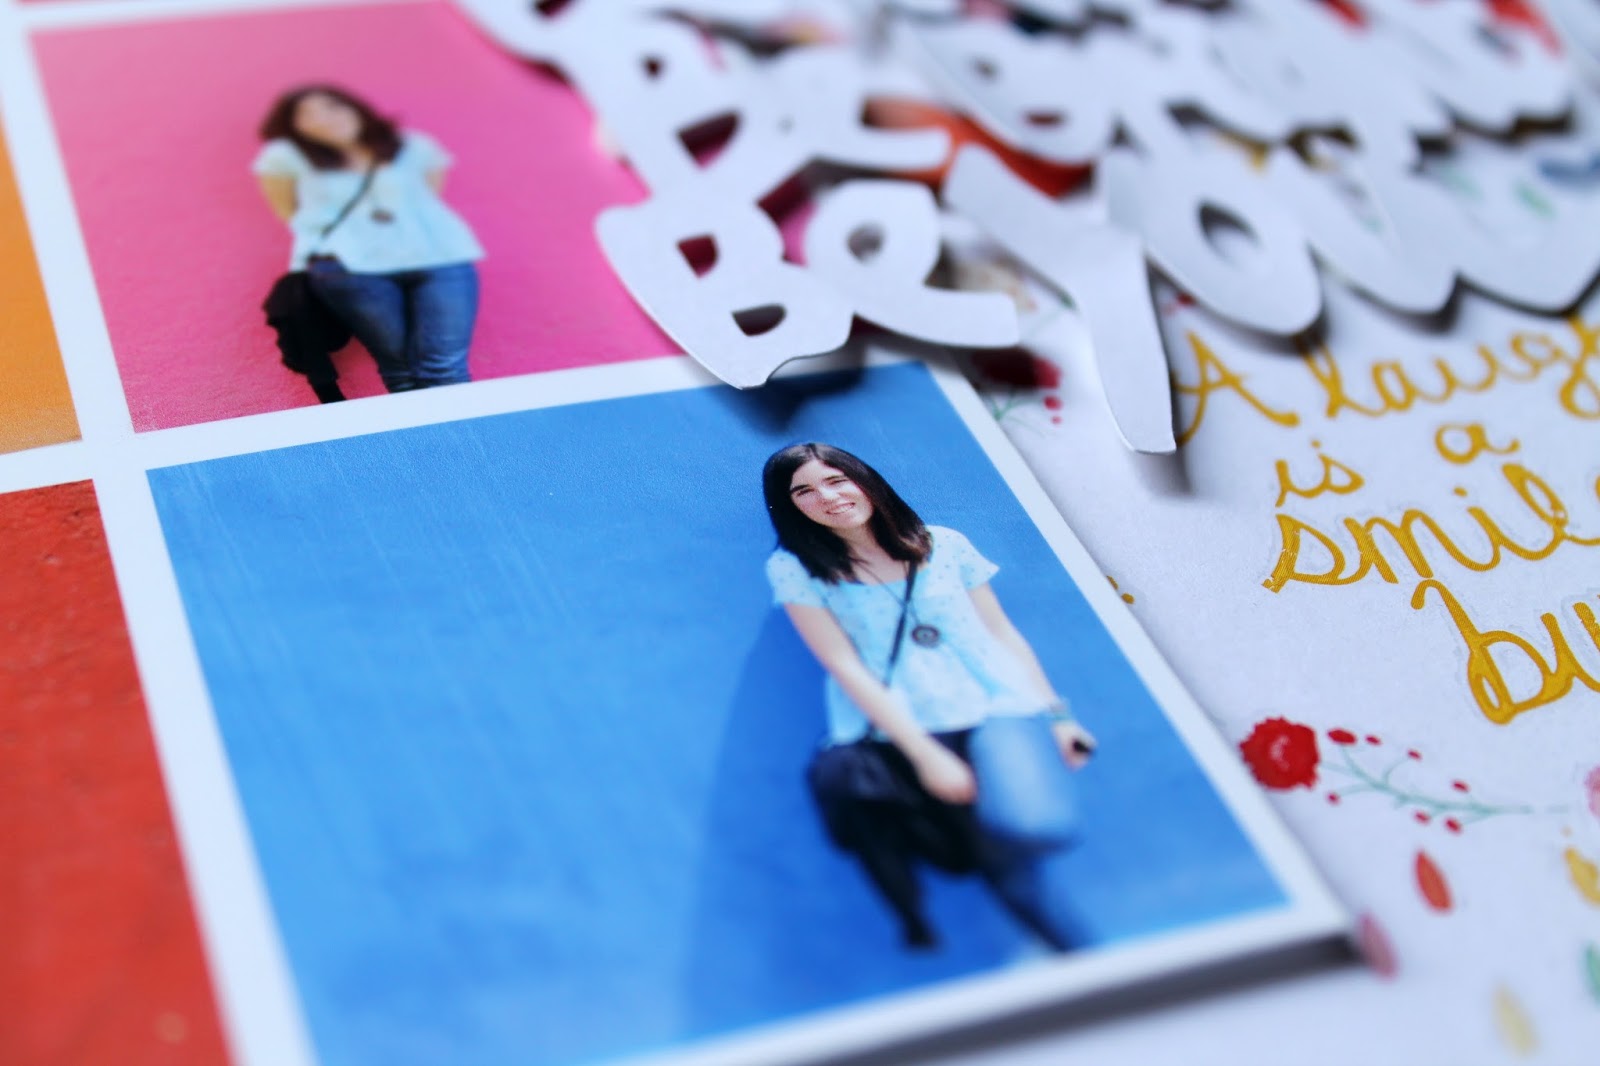
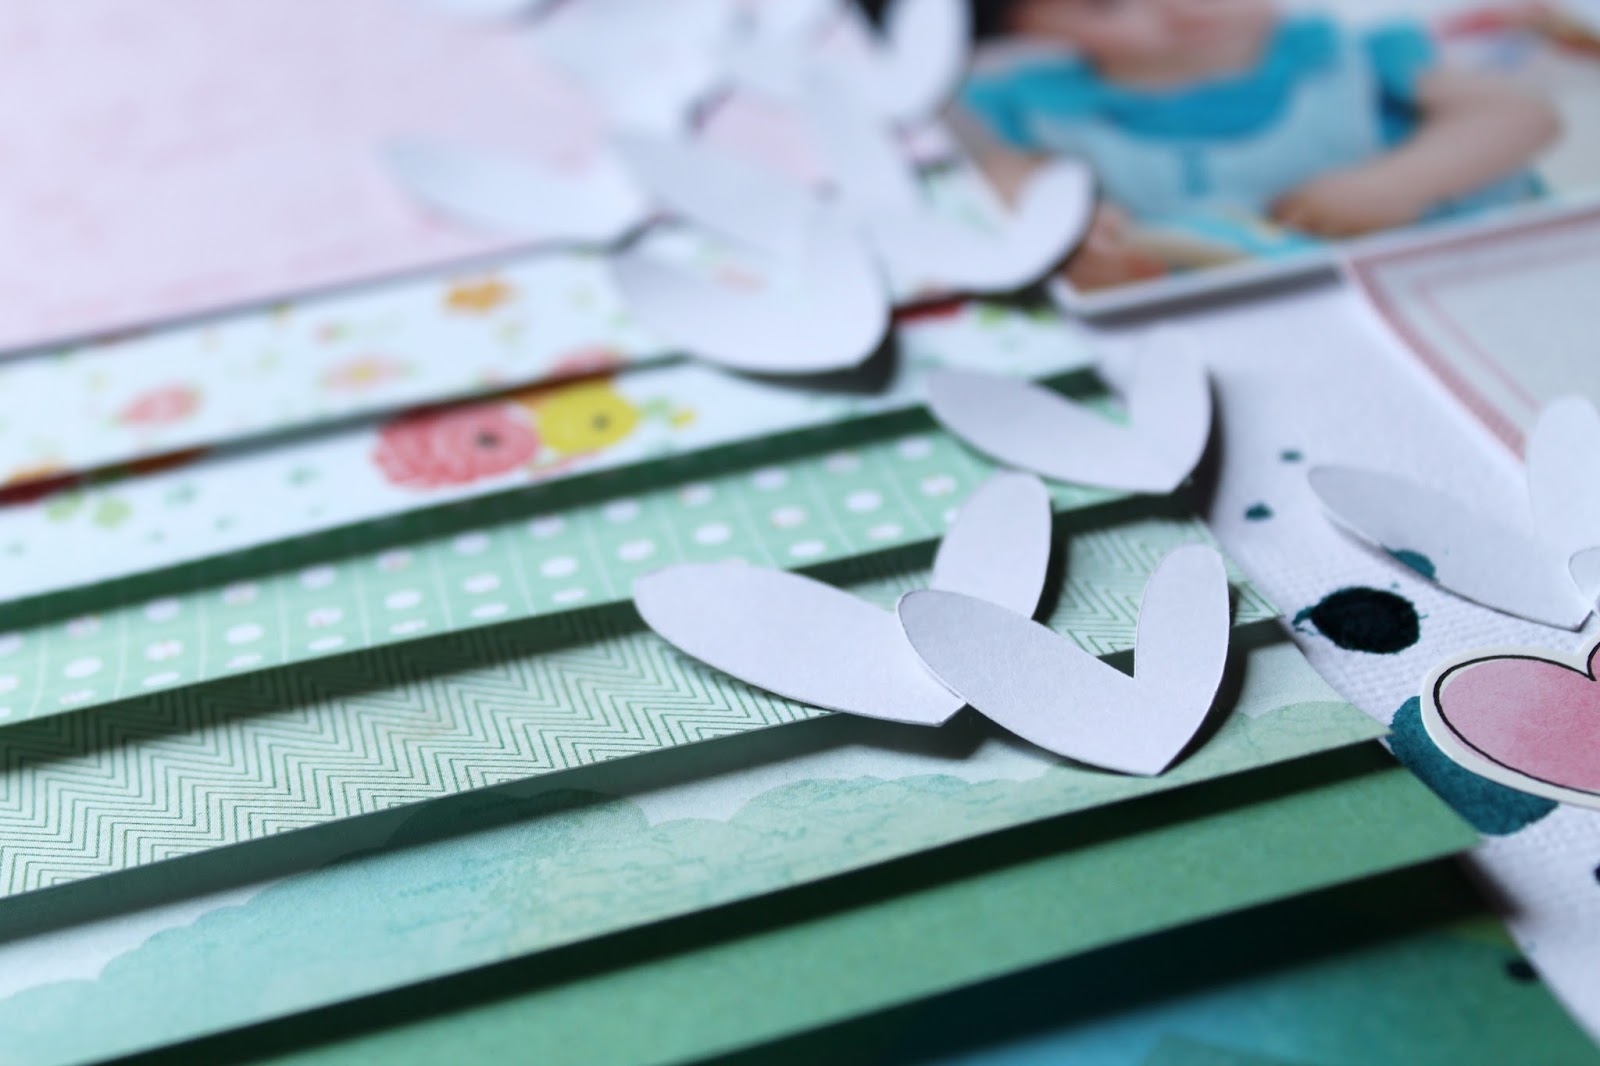
On Saturday we made a mini album with Elizabeth Kartchner (Dear Lizzy) and a layout in the evening with Janna Werner. Both incredible!


And on Sunday we made it backwards. We started the day with a mini album with Janna Werner and ended up with the Elizabeth Kartchner 's layout.


Dear Lizzy or Elizabeth Kartchner  is one of my favorite scrapers of all time. In fact I found the scrapbooking world and everything behind it through her website, specially through her mini albums. And of course her products were the first ones I owned. So, I was thrilled to meet her in person. She's incredibly cheerful, very sweet, funny and she had a lot of fun and great ideas to incorporate to the projects. 


Janna Werner is another of my favorite artists because she makes sweet and artistic projects. She had the classes super well planned and organized. I can not believe I almost finished her mini album at class! She showed us a lot of fun techniques and although she might look a little shy at first she was also very nice and funny.


And what about Collin Kartchner or El Marido as we called him? He is Elizabeth Kartchner's husband. Such a super fun, spontaneous man and, above all, a constant support for Elizabeth! Now he became part of the team of the app that is revolutionizing the web: Studio app. And even if you haven't download it yet, what are you waiting for?


Thanks to the Kits de Somni team for organizing this amazing event. Simply wonderful!

Remember to stay tuned as I will soon the projects more in detail.

xoxo

Boo
//////////////////////////////////////////////
¡Hola a todas!

Hoy os quiero contar como fue el finde del 6 aniversario de Kits de Somni en Barcelona. Si, lo se, seguro que ya lo habéis visto en otros blogs y en Instagram durante todos estos días pero bueno por sí alguien aun se lo ha perdido ;)

Para mí este ha sido el primer curso presencial al que asistía y fue una experiencia muy enriquecedora. Fueron 2 días magníficos, llenos de scrap, de buena compañia y de mucha emoción. ¡Si es que qué mejor curso para empezar!

Además fue la oportunidad perfecta para conocer en persona a un montón de amigas que había hecho en la red a través del scrapbooking. Aunque al final entre que estas super emocionada, concentrada en los cursos para no perderte la explicación y seamos sinceras, en cotillear la tienda y tomarte un descansito para picotear los dulces que teníamos allí, no tuve ocasión de saludar a toda la gente que me hubiera gustado. Pero bueno, ¡para la próxima!

En fin, llegamos bien tempranito al Hotel Silken Ramblas donde nos esperaba todo el equipo de Kits de Somni con unas bolsas de bienvenida monísimas con productos de Escrap, Mummy Crafts y otros detallitos.

La sala era muy amplia y estaba totalmente acomodada para 80 personas (10 mesas de 8), además de, como ya he comentado, una tienda bastante repletita de productos, photocall, pantalla con proyector para las profesoras y una pequeña mesa de catering. 

El sabado realizamos un mini album con Elizabeth Kartchner (Dear Lizzy) y un layout por la tarde con Janna Werner. ¡Ambos increibles!

Y el domingo al reves, comenzamos a la mañana con un mini album de Janna Werner y terminamos con un layout de Elizabeth Kartchner.

Dear Lizzy o más bien Elizabeth Kartchner ha sido siempre una de mis scraperas favoritas. De hecho empecé a conocer el scrap y todo este mundillo a través de sus mini albums en su web y por supuesto sus productos fueron los primeros que tuve. Por eso me hacía muchísima ilusión conocerla en persona. Es una chica increíblemente cercana, alegre, y muy dulce. Vamos, ¡majísima!

Janna  Werner es otra de mis artistas favoritas ya que hace unos proyectos muy artísticos y dulces. Tenia todo super bien planeado y organizado y aun no me puedo creer que me diera tiempo a casi terminar su mini album. Nos enseño un montón de técnicas además y aunque se ve un poco tímida también fue un encanto.


Y como olvidar a Collin Kartchner o El Marido como nosotras le llamábamos ya que se trata del marido de Elizabeth Kartchner y todo un personaje jeje Super divertido, espontáneo y sobre todo un apoyo para Elizabeth en todo momento. Ahora esta metido en el equipo de la app que esta revolucionando la red: Studio. Y si aun no te la has bajado, ¿a qué esperas?

Muchísimas gracias a todo el equipo de Kits de Somni por organizar este pedazo de evento. ¡Simplemente increíble!

Y después de esto, no os marchéis muy lejos ya que iré compartiendo poco a poco los proyectos más en detalle.

xoxo

Boo

May 23, 2014

Hello Happiness (Biscuit Project Challenge)

Hello!
And welcome back for another monthly sketch challenge by Biscuit Project. But first, let's have a look into this month's sketch and the kit. To create this layout I used the Biscuit Project May Scrap Non-stop kit (find it here). This month you can find on their shop two amazing kits as well as many new items in their shop. Here you have a peek on their awesome kit and on the sketch.


Before I even received the kit, the moment I saw the kit photo, I instantly fell in love with the pretty polka dot paper included in it. So, I decided it was pretty enough to not use it as a background. I know that I normally tend to use softer backgrounds but it was so pretty... so this became a bit of a challenge to me too.


As I already had a lot of color, I didn't want to add more patterned paper. But in order to have a place to put my photo I added a piece of white cardstock following always the sketch directions.
I noticed that the photo in the sketch had a little frame which was perfect, because in the kit there is a little package of fun frames that I really wanted to include in my project.


Then, I started playing with the stickers and the transparency shapes, trying different arrangements until I found the one I liked the most. I mainly used black, white and a bit of pink to continue with the color combo I already had. 


The speech bubbles are super cute elements to add a few words or even write your journaling. I used a permanent black pen to write "Hi!" and a little chevron on one of the bubbles. A few white ink splatters and some stamping and the page was done!


I hope you try this sketch and that you enjoy it as much as I did.

xoxo
Boo
////////////////////////////

Hola !
bienvenidos de nuevo a otro desafío mensual con sketch de Biscuit Project. Pero primero, vamos a echar un vistazo al boceto de este mes y al kit. Para crear este diseño he utilizado el kit de Mayo Scrap Non-Stop de Biscuit Project (podéis encontrarlo aquí). Además este mes podéis completar este kit con muchos productos nuevos en su tienda. 

Cuando vi la foto del kit, antes de incluso recibirlo, me enamoré al instante del papel de lunares tan bonito que venía en él. Y por supuesto no podía desaprovecharlo así que decidí lanzarme y utilizarlo como fondo. Sé que normalmente tiendo a utilizar fondos más suaves, pero es que era tan mono....por lo que usar un fondo con un diseño tan fuerte fue un pequeño desafío extra para mí.

Pero claro, como ya tenía un montón de color, no podía añadir más papeles así que usé un trozo de cartulina blanca para tener un lugar donde poner mi foto; siguiendo siempre las instrucciones del sketch.
También me fije que en el sketch la foto estaba dentro de un marco, lo cual era perfecto, ya que en el kit se incluye un pequeño paquete con marcos super divertidos para añadir a las fotos.

Después, empecé a jugar con las pegatinas y las formas de transparencia, probando diferentes diseños hasta que encontré el que más me gustó. He utilizado principalmente negro, blanco y un poco de color rosa para continuar con la combinación de colores que ya tenía.

Los bocadillos son perfectos para añadir unas pocas palabras como detalle. Por ejemplo, con un rotulador permanente negro escribí "Hi!" y dibujé un pequeño chevron en una de las burbujas. Para terminar añadí unas pequeñas gotas de pintura blanca en spray y unos cuantos sellos.

Espero que os atreváis con este sketch y que lo disfrutéis tanto como yo al hacer esta página.

xoxo
Boo

May 21, 2014

Capture

Hello!!

Today I bring you a very short post as this week I am very busy organizing everything for my next adventure. Next monday I'll be moving to Germany for 3 months to make a short stay there for my PhD. Eeeek! I am so nervous but so excited at the same time...


Today's page is very soft and simple, nothing fancy. The starting point was again a bright white with a tone on tone detailed background. To create this effect I used some Studio Calico cuts (made with my Silhouette Portrait) as stencils and white acrylic paint plus molding paste.


Once dried, I added another paper behind it to make the background pop a little bit more and a few gold splatters. Ok. So now I had the base done to start decorating it!


I placed my photo on a side so most of the banners were still visible. I continued with a blue/gold color combo for the rest of the page. Those puffy hearts and the paper clips are 2 of my favorite items right now. They are so cute, right? The tiny washi tape and the gold rub-ons are also always on my desk, ready to use! hehe


I hope to share with you soon the chronicles of this last weekend in Barcelona. Have you checked my Instagram already? I share some of the highlights of the weekend there. :)

xoxo

Boo

/////////////////////////////////////////////

¡¡Hola!!

Hoy os traigo un post corto ya que esta semana estoy muy ocupada organizando todo para mi próxima aventura. El próximo lunes me mudaré a Alemania por 3 meses para realizar una corta estancia allí trabajando en mi doctorado. Aisss... Estoy tan nerviosa pero al mismo tiempo tan emocionada...

La página de hoy es una página muy suave y simple, nada de lujos. El punto de partida fue de nuevo un fondo blanco con detalles de tono sobre tono. Para crear este efecto empleé algunos recortes de Studio Calico (hechas con mi Silhouette Portrait) como plantillas, y pintura acrílica blanca más pasta de modelaje.

Una vez seco, añadí otro papel detrás para que el fondo resaltara un poco más y unas cuantas salpicaduras doradas. Ok. Ahora ya tenemos la base para trabajar!

Coloqué mi foto en un lado para que la mayor parte de las pancartas estuvieran todavía visibles. Seguí con un combo de color azul y dorado para el resto de la página. Esos puffy stickers con forma de corazón y los clips de papel dorado son 2 de mis productos favoritos en estos momentos. ¿No son super monos? La diminuta cinta de washi y los rub-ons también dorados los tengo siempre en mi escritorio, listos para usar! jeje

Espero sacar un rato pronto para contaros todo sobre el pasado fin de semana en Barcelona. ¿Has estado atento a mi Instagram estos días? Allí he compartido algunas de las mejores fotos del finde :)

xoxo

Boo

May 15, 2014

Bookworm

Happy Thursday!!

While I am writing this post I am actually preparing myself for the BEST.WEEKEND.EVER.IN. BARCELONA. Yaaaaaay!! I am super excited because this weekend is the 6th Anniversary of KitsdeSomni and they are celebrating it with a super huge workshop weekend with Elizabeth Kartchner and Janna Werner. Can't you believe that I am gonna scrap with them? It will be awesome as well to finally attend to my first workshop and to meet a lot of incredible scrapbooking friends that I made through internet over the last year. ;)

But, for now let's have a look at today's page. I created this page inspired by the Sketchbook Class by Studio Calico. I love to see in this class how people start with a sketch in mind and from that they let their creativity work to finally design fabulous and different pages.


I used a variety of products from Studio Calico, some are from their kits and others are from some of their collections. I used the wood card first as a stencil to create those super cute tone on tone details on the white cardstock.


After that, I cut it on 2 and used them to make a stripe in the middle of the page.  I completed that stripe with a piece of paper and an envelope. Inside the envelope I added some hide journaling and a list of my favorite books right now. 


Then I placed my photo and the awesome card by Lindsay Letter. I lover her work!! To finish the page, I added some bits here and there and in addition I used a couple of stamps from the Sketchbook stamp set. So gorgeous!


I'll try to upload some photos of the event on Instagram during the weekend so stay tuned!
See you next week!!

xoxo
Boo


///////////////////////////////////////////////////////

¡¡Feliz jueves!!

Mientras escribo este post en realidad estoy preparándome para el MEJOR.FIN.DE.SEMANA.EN. BARCELONA. ¡Siiii!! Estoy súper emocionada porque este fin de semana es el sexto aniversario de KitsdeSomni y lo celebran con un super gran fin de semana de talleres con Elizabeth Kartchner y Janna Werner. ¿Te puedes creer que voy a conocerlas y escrapear con ellas? Va a ser increíble, además también porque es mi primer taller y voy a conocer a un montón de amigas scrapbookeras increíbles que he hecho a través de internet en el último año. ;)

Pero, por ahora vamos a echar un vistazo a la página de hoy. He creado esta página inspirandome en la Clase de Sketchbook de Studio Calico. Me encanta ver en esta clase de cómo la gente empieza con un boceto en mente y dejando volar su creatividad consiguen diseñar páginas fabulosas y diferentes.

He utilizado una variedad de productos de Studio Calico, algunos son de sus kits y otros son de algunas de sus colecciones. He utilizado la tarjeta de madera primeramente como plantilla para crear los relieves blancos sobre blancos y dar así detalle a la cartulina blanca.

Después de eso corté la madera en 2 y los usé para hacer una banda en el centro de la página. He rellenado la banda con un pedazo de papel y un sobre. Dentro del sobre añadí una lista de mis libros favoritos en este momento.

A continuación puse mi foto y la tarjeta impresionante de Lindsay Letters. ¡Adoro su trabajo! Para terminar la página añadí algunas cosas aquí y allá, y también un par de sellos del set de sello s de la clase de Sketchbook. ¡Son increíbles!

Intentaré subir fotos del fin de semana en Instagram así que estar atentos.
¡¡Os veo la semana que viene!!
xoxo

Boo

May 13, 2014

Smile

Hello scrappers,

Today I bring you the page I created for this month's Scrapaddictes Challenge. Have you already heard about this new shop? I hope so, because it is such a great online shop for all your scrapbooking supplies (find it here). I bought a few of my favorite supplies from them and they sent them to me super fast! Awesome! And the best thing about all this? They are looking to expand their DT so head over there if you want to checked their DT call. In fact, I would love to be part of the already great design team they have so this page is for you Scrapaddictes!

And now the page. This month's challenge was Geometrics, and anything related with that. So I  started thinking about all the possibilities and in the end I decided to go with a kind of geometric wall design and use it as a background. 


I decided to cover only one half of the page because I wanted to leave a big part of white space to contrast the colors of the geometric design. I designed a mask with my Silhouette Portrait (although you can do it with a pair of scissors and a pencil too) in order to use it to cut every single piece of paper for the background. I chose soft colors and designs and I repeated each paper twice. 


Then, I placed my photo and my title, half on the geometric design and half on the white space to join both sides. The title was also made with the Silhouette and it is a cut file from Wilna Furtenberg. I cut it on white paper for a tone on tone design.  So pretty!!


To finish the page I added a few embellishments of a very neutral color, such as the wood veneers, the flair, the paper clip and the tag. I also added black ink splatters and some stamping here and there for more extra detail.


Wish me luck!!

xoxo

Boo


//////////////////////////////////////////////////////////////


Hola scrapeadoras,

Hoy os traigo la página que he creado para el reto de este mes de Scrapaddictes. ¿Habias oído hablar de esta nueva tienda? Espero que sí, porque es una gran tienda en línea en donde puedes encontrar to lo necesario para scrapbookings (sino podéis verla aquí). Yo ya he comprado algunos de mis adornos favoritos con ellos y me los enviaron super rápido! ¡Impresionante! ¿Y lo mejor de todo esto? Que están buscando ampliar su DT, así que si te interesa pásate por su blog para ver que es lo que están buscando. Me encantaría ser parte del gran equipo que ya tienen por lo que esta página ¡es para vosotros Scrapaddictes!

Y ahora la página. El reto de este mes es Geometría o cualquier cosa relacionado con eso. Así que me puse a pensar en todas las posibilidades y al final me decidí a ir por un tipo de diseño de pared geométrica como fondo.

Decidí cubrir sólo la mitad de la página  porque quería dejar una gran parte en blanco para contrastar los colores del diseño geométrico y no sobre cargar la página. Diseñé una máscara con mi Silhouette Portrait (aunque también lo puedes hacer a mano) con el fin de utilizarla para cortar cada pieza de papel para el fondo. Elegí colores suaves y diseños suaves, y repetí cada hoja dos veces.

Después puse mi foto y mi título, mitad sobre el diseño geométrico y la mitad en el espacio en blanco para unir ambos lados. El título también lo hice con la Silhouette y se trata de un archivo de corte de Wilna Furtenberg. Lo corté en el blanco para un tono sobre tono en blanco y seguir con un diseño suave. ¡Qué mono!

Para terminar la página añadí algunos adornos de un color muy neutro, como las estrellas de madera, la chapa, el clip y la etiqueta. También añadí las salpicaduras de tinta negra y algo de estampado aquí y allá para dar unos detalles extras.

¡Desearme suerte!

xoxo

Boo

May 7, 2014

Be happy, be bright, be you

Hello!!

I hope you are in the mood for a super happy-colorful-bright page today!! Yaaaay! I have noticed that in the past few weeks I created (and I am still finishing some stuff too) such happy layouts/mini albums. I think that it must be that I am in a very good mood and it is somehow reflected into my creativity!


So about the page, this is a super simple page made by using basically rub-ons to create a fun background. I really like rub-ons and specially how they turn a white plain cardstock into an interesting paper but without making it look thick or with a lot of layers.


I mainly used Dear Lizzy Rub-ons from several collections that I was kind of hoarding. Aren't they super cute? I'd buy dozens of everything! But lately, I realized that or you use your stash instead of keeping it or you will loose the opportunity and finally forget that you actually got it! So it is time to use my stash.


Anyways, I started by placing my photo on a side of the page and then covering the other side of the page with rub-ons, just randomly. Then I added some black splatters here and there and my journaling. But it felt as it was something still missing. So I thought of adding a big tittle on top of the rub-ons although the rub-ons already had cool phrases and quotes. I didn't wanted to add more color to the page so I went with a white title (It is a cut-file from the ArtClass2 by Wilna Furstenberg). I adhered it with 3D foams to stand out from the background. In the photo it doesn't look as well as in person but I tell you it actually stands out beautifully. ;)


xoxo

Boo

//////////////////////////////////////////

Hola ! !

Espero que estéis preparados para la página super feliz - colorida - viva  que os presento hoy! ¡Síiiii! Me he dado cuenta de que en las últimas semanas he creado (y aun sigo terminando algunas cosas) páginas/mini albumes super alegres. Creo que debe ser que estoy con muy buen humor y obviamente eso se refleja de alguna manera en mi creatividad.

Pero bueno sobre la página, se trata de una página super simple hecha utilizando básicamente rub-ons para crear un divertido fondo. Me encantan los rub-ons y en especial la forma en que hacen que una cartulina blanca lisa se convierta en un papel interesantey lleno de color, pero sin que se vea grueso o con un montón de capas.

He utilizado principalmente rub-ons de varias colecciones de Dear Lizzy que al parecer he ido acaparando. Y es que ¿no son super bonitos? Me compraría  docenas de todo... Pero últimamente , me he dado cuenta de que o bien empiezo a utilizar lo que ya tengo en vez de acapararlo o que al final perderé la oportunidad y olvidaré de que en realidad alguna vez lo compré. Así que es hora de usar los restos que tengo por ahí.

El caso es que, comencé colocando mi foto en un lado de la página y luego cubrí el otro lado de la página con rub-ons, colocandolos simplemente al azar. Luego añadí algunas salpicaduras negras, arriba y abajo y escribí lo que quería contar en esta página. Pero sentía como que aún faltaba algo. Así que pensé en añadir un gran titulo encima de los rub-ons. Aunque los rub-ons ya tenían frases guays no era suficiente. Pero tampoco quería añadir más color a la página, así que me decidí por un título blanco (es un die-cut de la clase ArtClass2 de Wilna Furstenberg). La adherí con taquitos 3D para que resaltara un poco más entre el fondo y aunque en la foto no se ve tan bien, en persona, destaca de una manera increíble.

xoxo

Boo

May 5, 2014

Today was magical

Hello,
It is time for another cute layout inspired by the latest tutorials by Wilna Furstenberg on her blog. I am loving all of them and all the beautiful cut files as well. However, for this page I didn't use any of her cut files. In fact I just used a heart cut file which I change several times to create different shapes.


I don't have many 6x6 paper pads (just 5 or so) and it seems that I do not use them on my layouts as much as I thought at first. But I really like them specially for mini albums or cards. 


I started this layout by stacking nine 6x6 papers on a row. I chose a mint/green/blue color combo plus some pink and flowerish pieces. I was totally inspired by the colors of the photo of my niece. So cute!
Then I played with the die-cut hearts looking for the perfect arrangement.


To finish the page I just added some pink hearts and embellishments to add a pop of pink on the other half of the page. It is a very simple page and very easy to make in a short period of time. But the result is wonderful.


xoxo

Boo

//////////////////////////

Hola,
Es la hora de compartir otro página inspirada en los últimos tutoriales de Wilna Furstenberg de su blog. Me encantan todos así como todos sus archivos de corte. Sin embargo, para esta página no usé ninguno de sus archivos de corte. De hecho usé un simple archivo de corte con forma de corazón que pude cambiar varias veces para crear diferentes formas.

No tengo muchas libretas de papel 6x6 (sólo 5 o así) y aparentemente no las uso en mis páginas tanto como pensé al principio. Pero sin embargo me gustan especialmente para crear mini-álbumes o tarjetas.

Comencé esta página por el apilamiento de nueve papeles de 6x6 en fila. Elegí un combo de color compuesto por turquesas verdosos y azulados más algo de color rosa y flores. Esta combinación de colores está totalmente inspirada en los colores de la foto de mi sobrina. ¡Qué mona!
Después jugué con los corazones troquelados en busca de la perfecta organización.

Para terminar la página añadí algunos corazones de color rosa y adornos para añadir un toque de color rosa en la otra mitad de la página. Es una página muy simple y muy fácil de hacer en poco tiempo. Pero el resultado es maravilloso.

xoxo

Boo